Desktop Migration!
This upgrade has two major components.
- First: Swapping my MSI B550 board out for an ASUS X570 board
- Second: Move the build from my office on the second floor to the basement without losing functionality
Board Swap
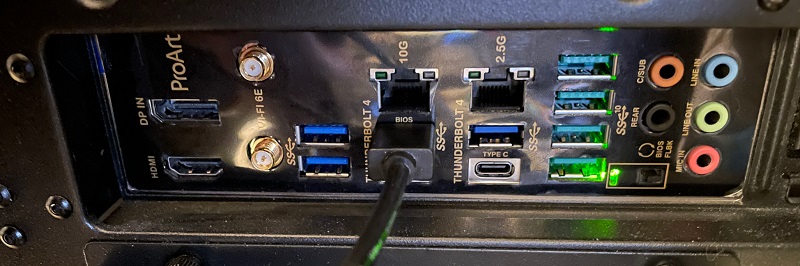
First up, I’m trading boards from an MSI B550 MAG to an ASUS ProArt X570-Creator. Primary motivator for this is both the upgrade in chipset performance as well as the addition of onboard 10GbE networking and Thunderbolt.
Transplanting components was straightforward


the BIOS flashback feature was also a welcome upgrade
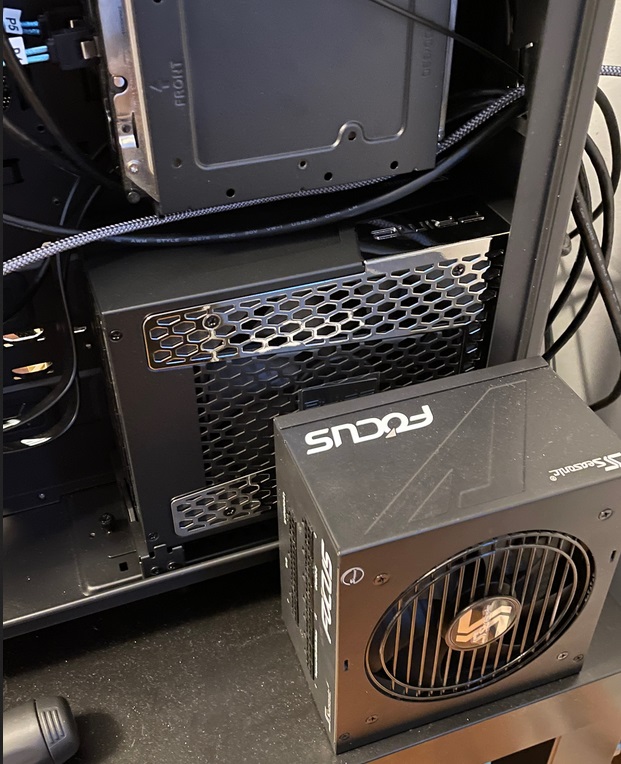
I’ve also gone ahead and upgraded my aging 750w PSU to a Seasonic Prime TX-1300
Boot Disk Clone
As part of the upgrade, I’m upsizing my 1TB Samsung 970EVO Plus disk to a 2TB 980Pro. Samsung offers a data migration utility, however I’ll be performing a few migrations on non-samsung disks in the future so we’ll be using something more platform-agnostic. Using a Clonezilla live image and spare scratchdisk, everything went smoothly while expanding out the existing disk partitions. The dry-run here paid off and the “full” migration went without incident.
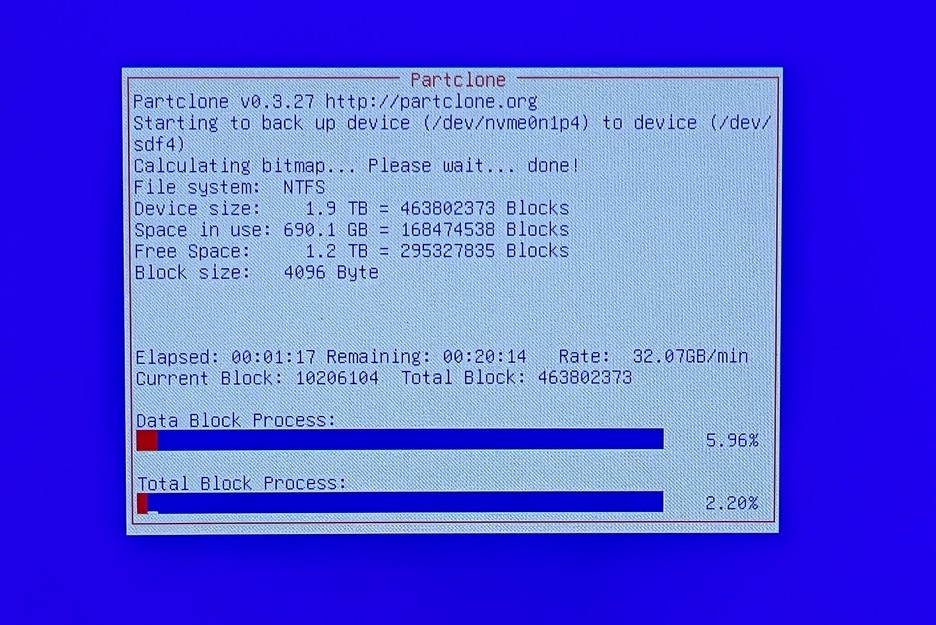
as a fun extra (and to cope with the smaller number of SATA headers on this board) I went through an additional cloning operation; cloning a larger SATA disk to a smaller NVMe drive. While normally cloning from a larger drive to a smaller one is not supported, but with a few workarounds it’s doable if the combined size of the donor’s data partitions can fit the destination disk (and all near the “beginning” of the drive).
in Clonezilla’s advanced mode, using options -icds and “Resize partition table proportionally” copies over the partition table from the source drive as well as the data itself, but skips the validations.
10GbE networking
Due to overhead losses from inter-VLAN routing in my Unifi environment, this is connected to the NAS VLAN/subnet.
What we’re testing here is primarily that we’re not accumulating any unforeseen losses due to cable choice or anything major. My upstream in this case is going to a USW-Aggregation switch with a no-name 10GbE SFP+ to RJ45 adapter.
1 | PS D:\My Documents\Downloads\iperf-3.1.3-win64> .\iperf3.exe -c 10.240.11.118 -p 5201 |
Not quite the rated 10gig, but much better than the 2.5GbE link I was using in the office.
Thunderbolt
This is the where most of the cost and headache of the project lies.
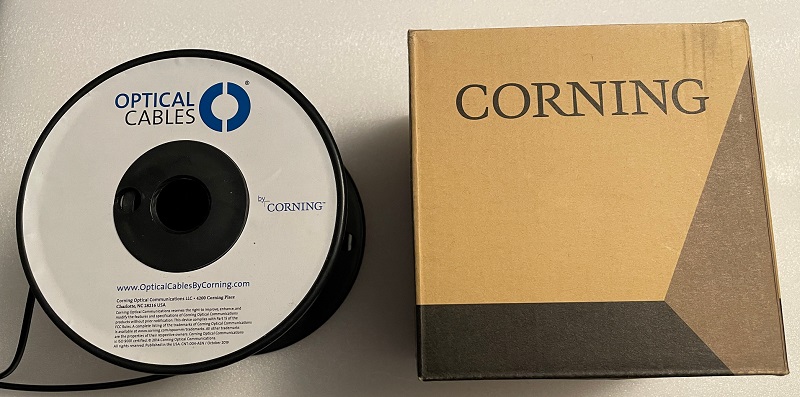
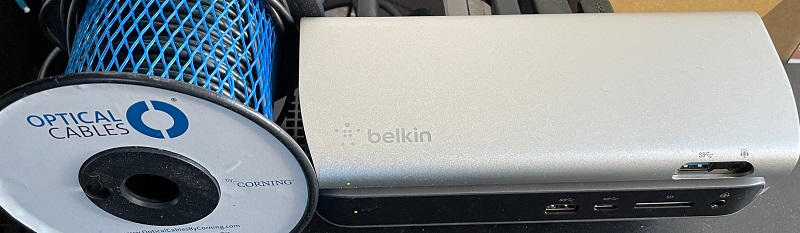
The linchpin of this whole operation are Corning’s Optical TB3 cables. While the ASUS board’s Titan Ridge thunderbolt system is TB4, I initially started with a Belkin TB3 Pro dock (F4U097tt) to match the TB3 cable. The rated transfer capacity of TB3 and TB4 are effectively the same, so functionality loss isn’t a major concern.
After running a 50m length of this optical cable from my office to the basement (following a previously established run with a half-dozen CAT6 lines), it was time to start testing!

This functioned more or less as expected once working, but was subject to some gnarly edge cases. Resuming connections from sleep was a bit hit or miss, but a major issue came from the initial link on boot. Occasionally it would fail to “stick” and would require a whole dance of physically reseating both ends of the connector and rebooting (rebooting without reseating would never work, so perhaps something in the optical transceiver?). Thanks to a reddit commenter suggesting to solve this issue by daisy-chaining it off of another dock, though compatibility of the optical thunderbolt cable itself was also an issue. Wake-from-sleep frequently causes the dock’s thunderbolt connection to be lost entirely (and making it behave as a “generic” USB-C hub) and requires a full reboot (or five) to reestablish full thunderbolt connectivity.
After some additional research and a hint from another reddit post, I picked up a second Belkin dock, this time the Thunderbolt 3 Express Dock HD F4U095. At the time of writing, this dock is discontinued, but is readily available on ebay for less than $50. This dock has worked flawlessly with the Corning cable. My only quibble with it is that the onboard displayport handling is only DP1.2, meaning some kind of daisy-chaining was required to get DP1.4 to the monitors.
I’ve tried a few additional docks with the results below having tested directly from the PC. Essentially all docks worked when daisy chained to the Express Dock HD, however the USB side-band always seems to be dropped on the downstream device.
Dock Selections
Name |
P/N | Link over optical? | Onboard MST Hub? | Notes |
|---|---|---|---|---|
| Belkin Thunderbolt 3 Express Dock HD | F4U095 | ✔ | ❌ | • Links reliably in preboot and OS environments • only passes DP1.2 |
| Belkin Thunderbolt 3 Dock Pro | F4U097tt | ⚠ | ❌ | • Inconsistent link on sleep/wake and reboot • passes DP1.4, but required MST hub |
| Lenovo ThinkPad Thunderbolt 3 Dock Gen 2 | 40AN0135US | ❌ | ✔ | • did not link over optical • passes DP1.4 when daisy-chained |
| HP Thunderbolt Dock 120W G2 | 2UK37UT#ABA | ❌ | ✔ | • host port is accessible from bottom of unit • did not link |
| CalDigit Thunderbolt 4 Element Hub | TBT4 Element Hub | ⚠ | ❌ | • updated to FW .40 for better optical compatibility • unit linked, but only passed flickering DP1.2 |
| Dell Thunderbolt 4 Dock | WD22TB4 | ❌ | ✔ | • used USB4-rated “active” coupler • did not link |
| OWC Thunderbolt Pro Dock | OWCTB3DKPRO | ❌ | ✔ | • attempted to link, but appeared to get stuck in a negotiation loop |
| Wavlink Thunderbolt Dual DisplayPort Adapter | WL-UTA21D | - | - | • daisy-chained, but did not “split” streams |
Multi Monitor?
Short answer: not well yes*
While we’re able to successfully pass a single display signal through using the DisplayPort connection from the Radeon 6800XT, getting multiple displays out of the dock is finnicky. Laptop testing “just worked” with multiple displays linking without a problem, but the desktop method of “injecting” displayport signal into the thunderbolt connection over an external cable doesn’t appear to offer the same functionality. The GPU supports DSC and HBR3 outputs over DP1.4, so we’ll be taking advantage of that with multi-stream-transport (MST) tools.
Without a native solution on-dock (one monitor over displayport, one over the downstream thunderbolt port), it’s necessary to use an MST hub. My goals here are to drive two 1440p monitors (one Alienware AW3423DW and oneDell S2719DGF) while retaining the marquee features of the primary monitor (HDR, 120Hz+ refresh-rate, 10bit color depth).
My first try with this was using a Startech DP1.4 hub (PN:MST14DP122DP), and while it did work, did not support DSC and delivered a less-than-ideal experience. HDR was out from the beginning, and if I wanted to keep 10 bit color on the Alienware monitor I was locked to 100hz on it and 60 on the secondary monitor. Bumping down to 8bit color allowed up to 100hz, but that wasn’t a stellar consolation prize.
Next up was trading out to a different MST hub. This time a startech USB-C to DP1.4 adapter (PN:MST14CD122DP). From the start, much better options with 1440p immediately displaying on both monitors and HDR enabled on the primary. On further investigation, not only was HDR and 10bit color available on the Alienware monitor, but the full refresh-rate of 175Hz was also enabled (but not both simultaneously). Interestingly enough, I did also find that the Dell monitor (via the Radeon control panel) would accept 6bit color depth. While we’re not bottlenecked on bandwidth at this point, knocking that down a level gives us additional headroom and did not cause any noticeable degradation.
In all cases, support for variable refresh rate (VRR/Freesync/G-Sync) was unavailable.
results:
| MST14DP122DP | MST14CD122DP | |
|---|---|---|
| AW3423DW | 1440p 100Hz (SDR 8bit) | • 1440p 120Hz (HDR 10bit) • 1440p 175Hz (HDR 8bit) |
| S2719DGF | 1080p 60Hz (SDR 8bit) | • 1440p 60Hz (SDR 6bit) • 1440p 60Hz (SDR 8bit) |
Remote management
The final piece of this puzzle comes from a piKVM card. I’m using a Raspberry Pi CM4 based unit from Blicube called the BliKVM PCIe. Jeff Geerling has reviewed this model in a blog post
to mitigate some of the hot-plug issues with the thunderbolt setup, I’ll be using the piKVM’s API for remote state control (as well as offering some redundancy for lights out-management)
while it’s platform-agnostic, I’ll be using Home Assistant’s REST command integration to interact with the service
1 | rest_command: |
and called with
1 | service: rest_command.pikvm_buttonclick |
(note that the above user needs to be configured as a KVM/interactive user rather than a SSH/system user)
Wrap-up
flowchart LR
subgraph basement [Basement]
    I[10gig uplink] <---> PC
    J[POE uplink] <--> kvm["blikvm"]
    kvm <--> PC
    subgraph PC [PC]
        s["Asus X570"]
    end
end
subgraph office [Office]
    subgraph docks
        PC <--> |"Corning Optical\nThunderbolt 3"|hub1["Belkin\nF4U095"]
        hub1 <-->|"TB3"|hub2["Belkin\nF4U097tt"]
        hub2 --> |"USB-C"|MST["Startech\nMST14CD122DP"]
        hub1 <-->|"USB"|usbhub["USB Hub"]
    end
    subgraph HIDish
        usbhub <--> Mouse/Keyboard
        hub1 <-->|"USB"|monitor1
        MST --> |"DP1.4"|monitor1["Alienware\nAW3423DW"] & monitor2["Dell\nS2719DGF"]
    end
end